Showing posts with label DIY. Show all posts

Tuesday, November 11, 2014

Save the Date DIY

Hi lovelies!
I wanted to post a quick Wedding DIY, because it has been a while.
So, here is an easy origami heart tutorial that can be used for wedding save the dates, Valentines, or whatever your heart does desire.
Enjoy!


Love,
Lauren

Wednesday, September 25, 2013

More Crayon Art: Halloween/Fall edition

I wanted to create another crayon canvas creation, but more for fall and Halloween to decorate my house with. So I tried out a couple ideas. One failed miserably, but one turned out pretty good!

Pumpkin Crayon Art
I used the Crayola crayons again, this time I used one box of Keen Green and three boxes of Hello Sunshine.


I took the Hello Sunshine crayons, peeled them, and chopped them up roughly into thirds. I took the Keen Green ones, and just snapped the very tips off them to create the look of a stem and leaves. 


I then used a hot glue gun to affix them to my canvas in the shape of a pumpkin. Don't worry too much about being messy with the hot glue. The crayons will melt into one shape and the hot glue is mostly just to keep them in place while you are heating them. 


The next part was tricky. I wanted to heat the crayons to the point of melting them. However, I did not necissarily want a lot of spreading/splashing effect the blowdryer gives. I used a giant stick lighter on most parts so there was heat, but no blowing. This took a very long time and was slightly painful to hold down the trigger on the lighter, so I went back and forth between the lighter and a blowdryer. 

I'm so happy with my result. I am thinking about framing the sides with a green or black ribbon. I love this project because it's unique and I also versatile. I can use it to decorate for Fall, Halloween, and Thanksgiving!

Love, 
Lauren 


Friday, August 23, 2013

Natural Dying

I wanted to try natural dying with some hemp to make jewelry. It actually turned out pretty good. Here's how I did it!


  1. I boiled 2 cups of wine. (I chose a light pink wine to get a pink color, but I want to try red next.)
  2. I brewed one pot of strong coffee. 
  3. I took three strands of hemp, and poured the wine over it in a bowl with a lid, covered it, and let it sit for 3 days. 
  4. I did the same for the coffee, however, I put the coffee grounds in with it and even added more after I made a pot of coffee the next day. Again, I let it sit for 3 days. 
The wine dye turned out a very light pink and the coffee just turned the beige hemp a shade of light brown. I was very happy with the results, and I look forward to trying more! What natural dying techniques have you used?
Love, 
Lauren 

Thursday, July 4, 2013

Vintage Suitcase Re-Vamp


I've been wanting to do this project for a long time! I finally found the perfect suitcase at an antique store for $10! All I did was get half a yard of lace, mod podge, and the suitcase. I measured the lace to cover the front and back of the suitcase. My lace was scalloped, so I decided to leave a little bit of the suitcase showing. I covered it with mod podge, and let it dry! I love it so much!

Love,
Lauren

Wednesday, February 29, 2012

D.I.Y. Customized Message Cork Board

I saw this idea as a magnet board. I made my own version with a cork board for a gift for my best friend. The cork board is a lot cheaper to make.
You Will Need: 

  • Hot Glue Gun
  • Sharpies
  • One piece of scrapbook paper
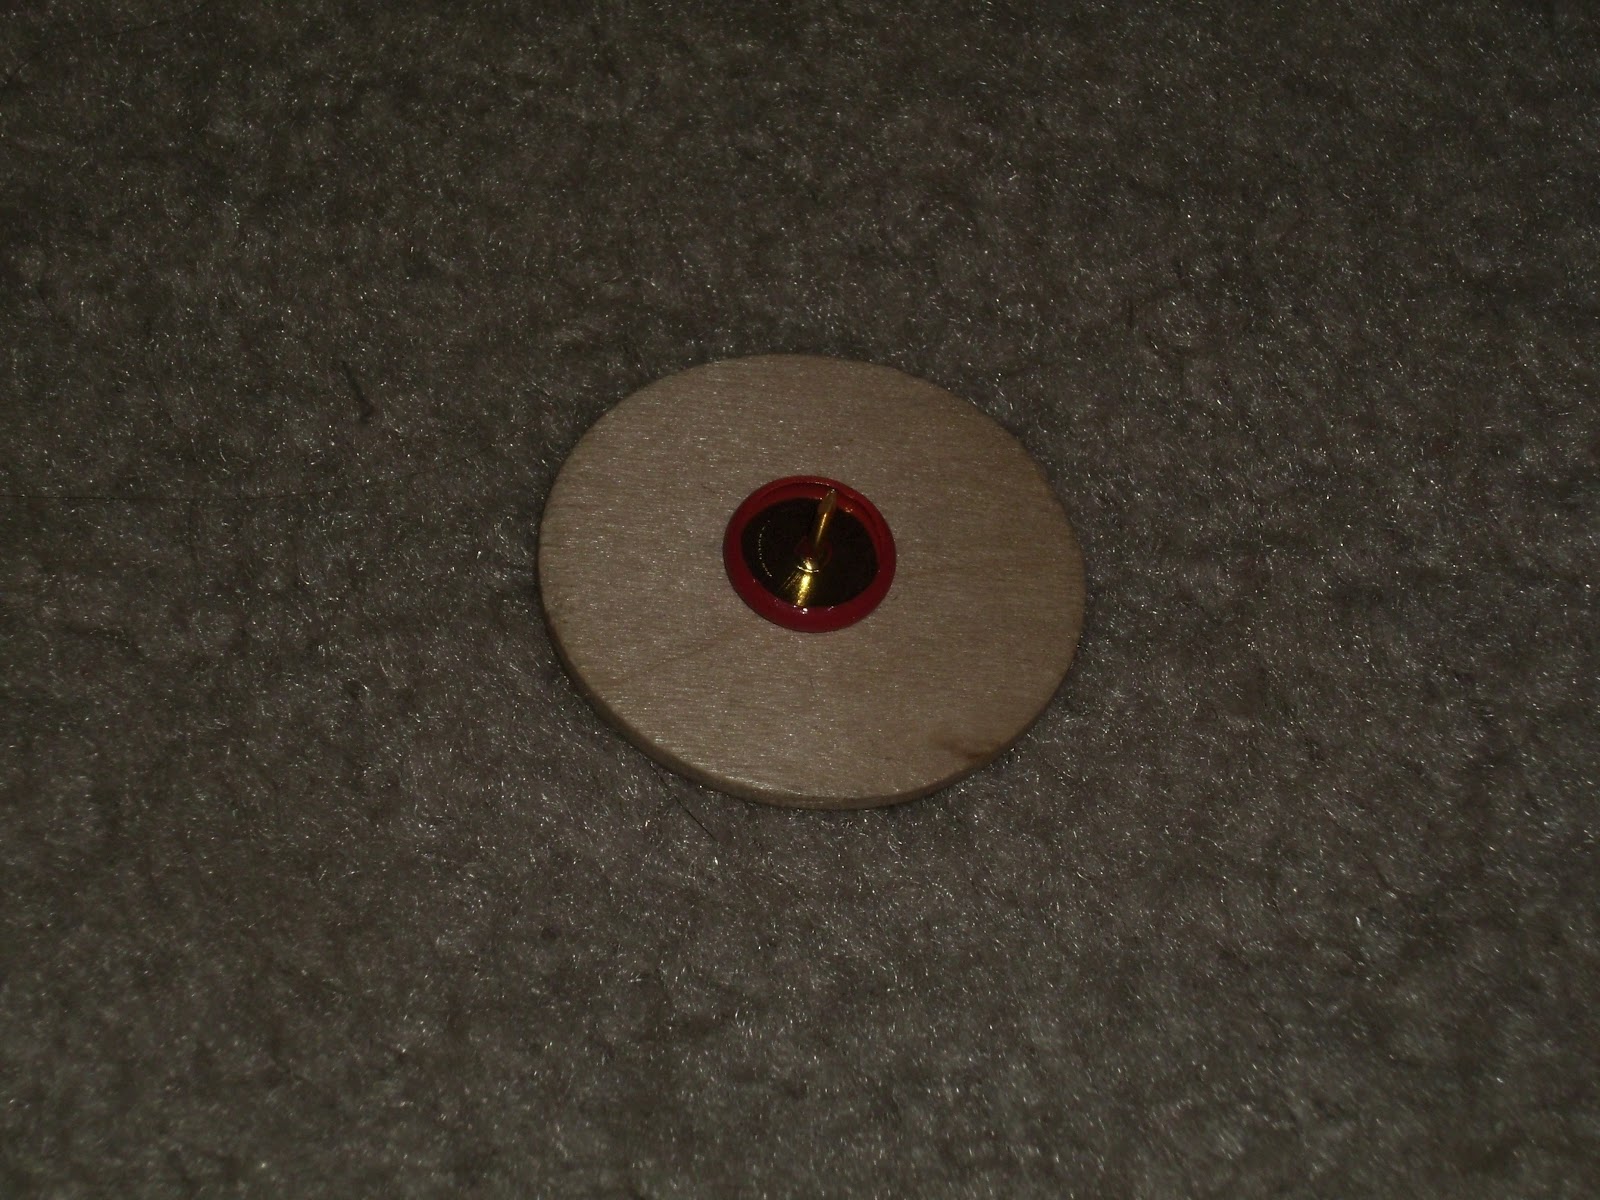
  • Multiple sized wooden circles (These can be found in any craft store. Any shape works. I thought taking square ones and making them look like scrabble pieces would be cute too.)
  • Round topped push pins.
  • Cork squares


  1.  First, write out your message on the shapes one letter per shape. I used song lyrics my friend has as a tattoo. (You're the only voice my heart can recognize.)

2. Hot glue push pins to the back of each lettered shape.

3. Take your paper, and measure according to the squares. Then put dabs of hot glue on the corners to make sure the paper stays secure. The push pins will already help it stay on, the hot glue is just for extra reinforcement.

4. Finally, Glue a ribbon to the back to combine multiple cork boards and make a pretty bow at the top with a loop for easy wall hanging. Push all the pins in, and ta-da!


I hope you have fun! 
Love,
 Lauren